


Deploying Xen Orchestra takes a few minutes: you deploy the Xen Orchestra Appliance (XOA), a pre-built VM with everything configured, directly on one of your hosts. Nothing is installed on the hosts themselves, and nothing changes in your infrastructure: XOA is just another VM.
This page walks the whole journey: deploy, first login, registration, and the first console and network settings. Not sure XOA is the right choice for you? See how to choose your installation method.
Before you start, check the requirements: supported hosts and the resources to give to the appliance.
If you are installing XOA to leave VMware, deploy it as described below, then follow the VMware migration (V2V) guide: it explains how to prepare both environments and move your VMs to XCP-ng with Xen Orchestra.
Deploy XOA
Log in to your account and use the deploy form on vates.tech/deploy:
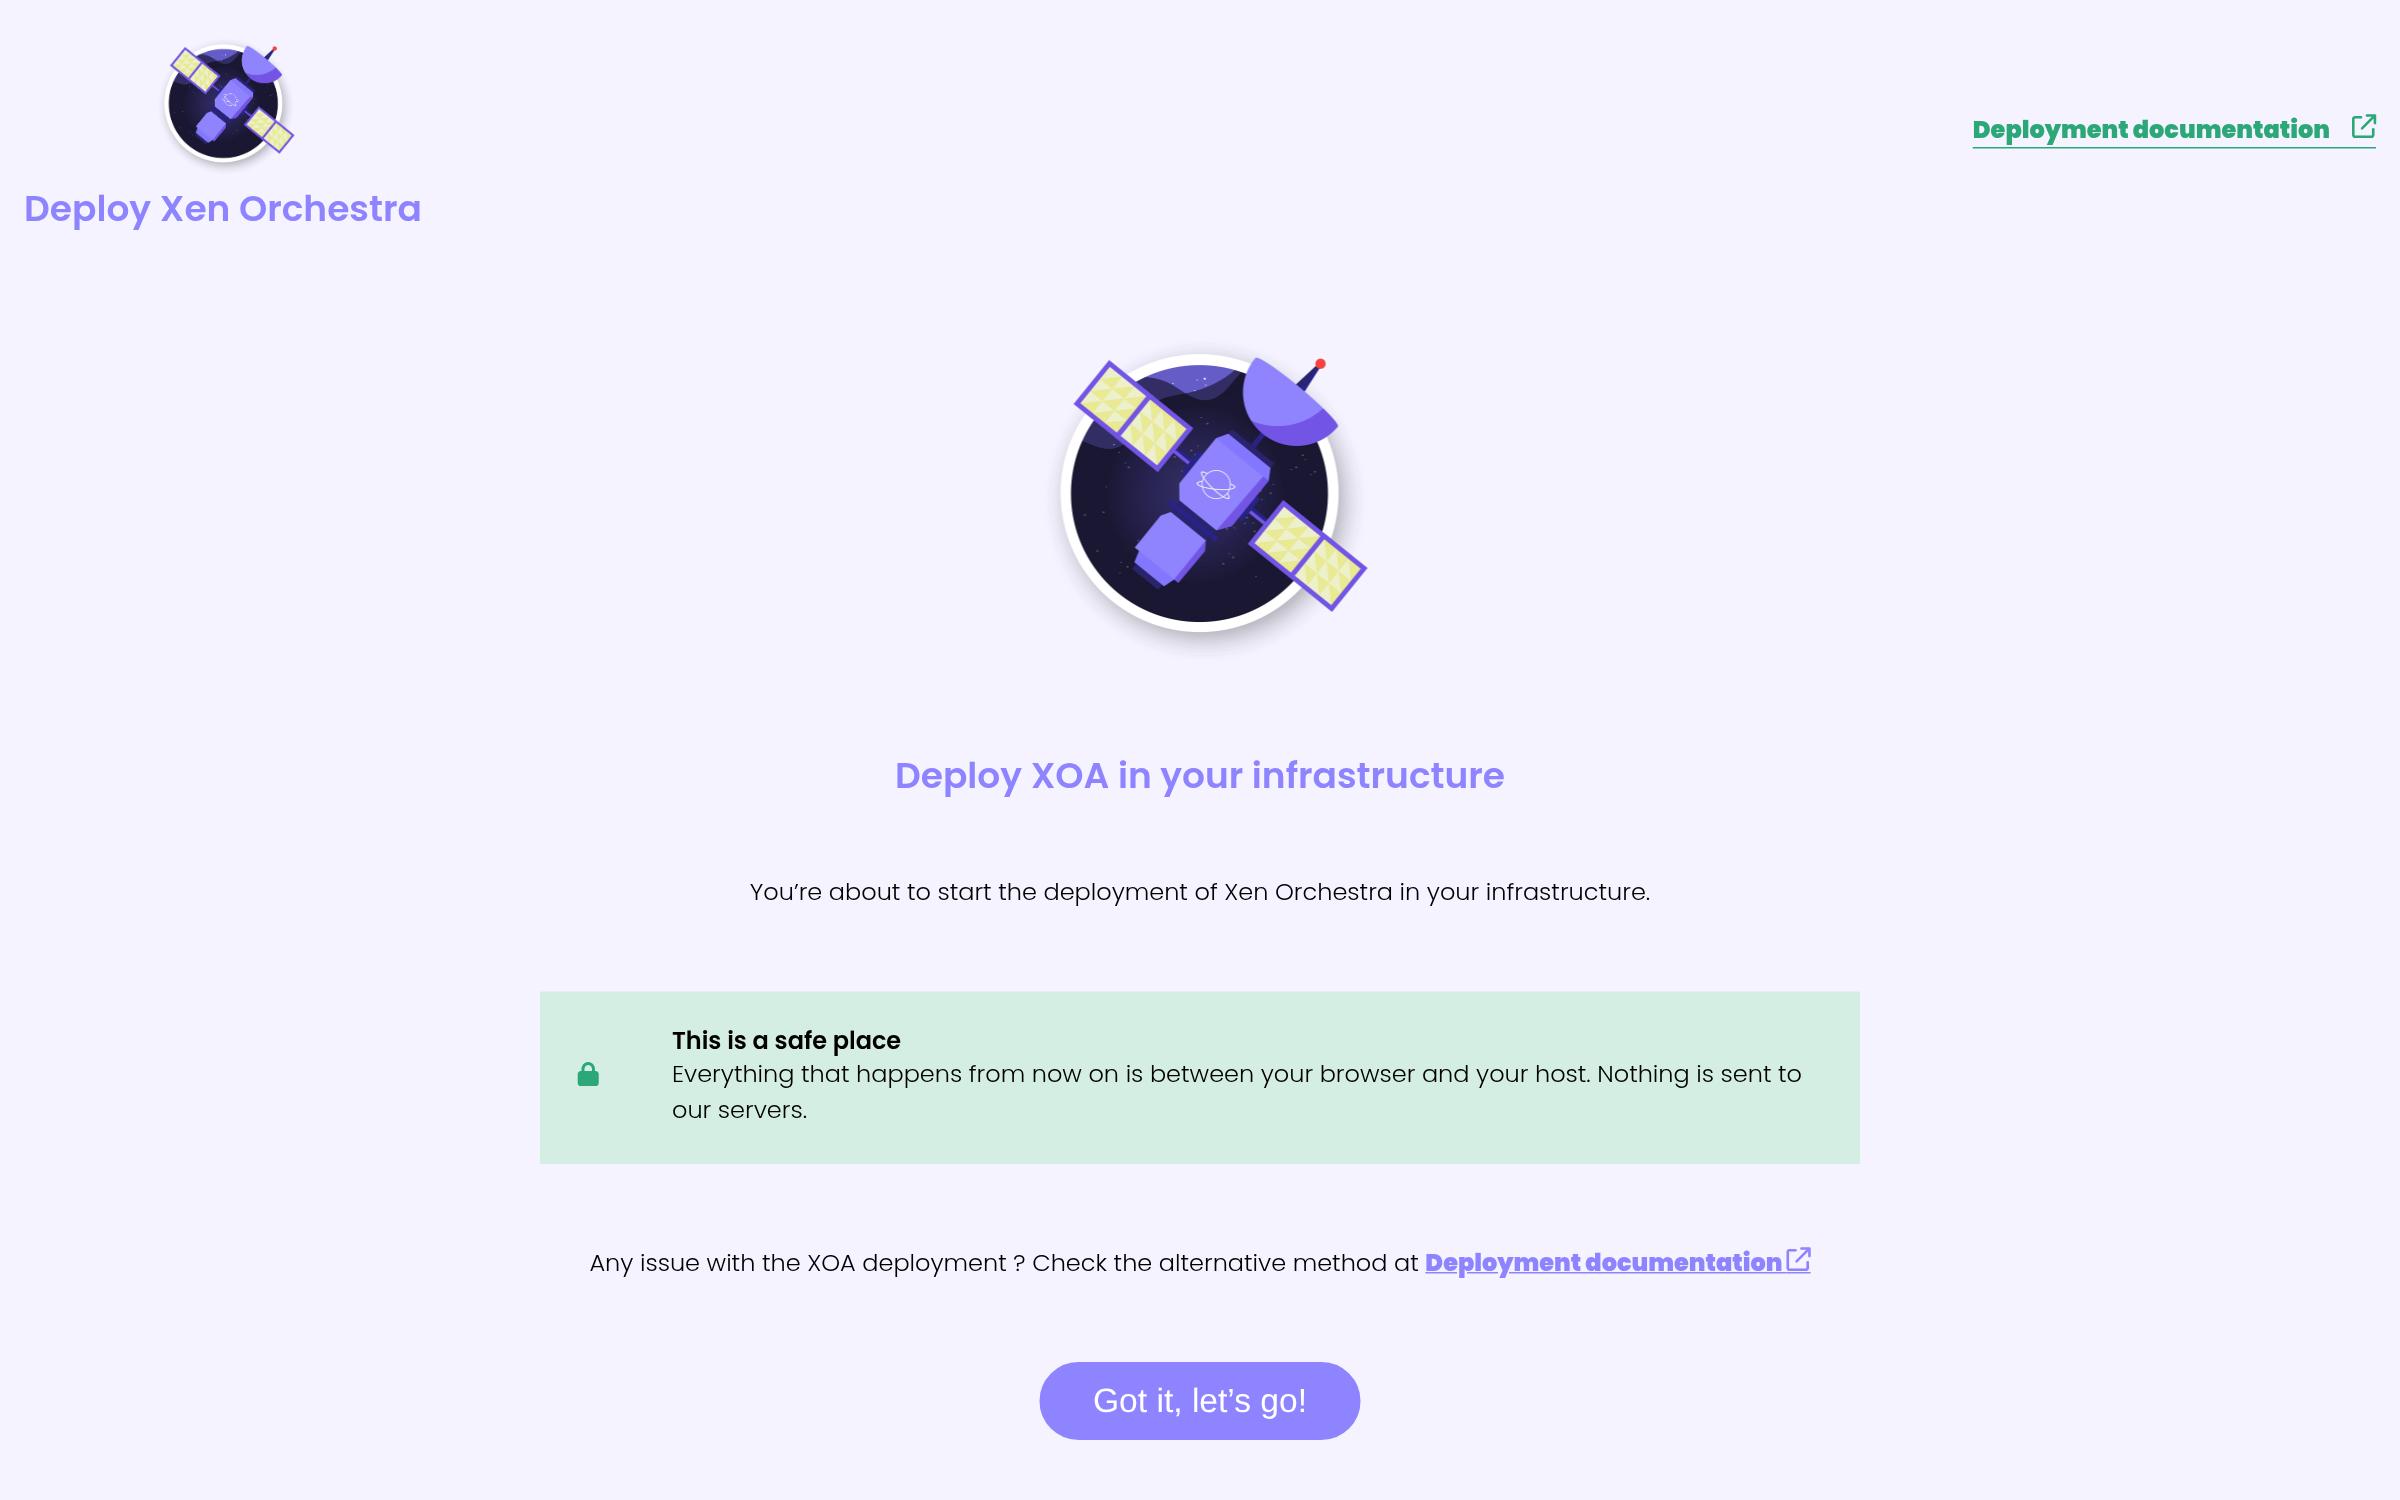
The wizard walks four steps: Connect (your host address and credentials), Configure (storage and network for the appliance, DHCP or static), Secure, and Deploy. It then imports and starts the VM on the storage repository you picked:

First login
Once the VM is running, open its IP address in your browser. If you did not set a fixed IP or are unsure which one it got:
or check your router's DHCP leases for an xoa entry.
- Default web UI credentials: [email protected] / admin. Change them right after the first login: create a new admin account and remove this one. If you ever lose your password, you can reset the configuration to get the default credentials back.
- XO 6 is the default interface. To use XO 5 by default instead, see Using XO 5 as the default interface.
- Console and SSH have no default password: you set one during deployment, or later from the host.
Register and start your trial
The first thing to do in your new XOA is to register it, from the Updates view: registration is what enables updates and the free 30-day trial. Use your account.vates.tech credentials:
To try everything XO can do, start the trial from the same view ("Start Trial", the green button), and click Upgrade: your appliance runs the complete Premium feature set for 30 days.
When the trial ends, the appliance keeps working and simply returns to the Free feature set: you lose no data and no configuration. For system-level settings of the appliance (firewall, NTP, service restart), see the XOA appliance settings.
Alternative deployment methods
Use these when the web deploy form is not an option (no Internet access from the browser, automation, restricted environments).
Via XO Lite
If your hosts run XCP-ng 8.3 or later, XO Lite is already waiting on every host: open https://your-host-ip in a browser, log in with the host root credentials, and use its Deploy XOA action. Nothing to download, nothing to install: XO Lite is served directly by the host.
Via a bash script
From your XCP-ng or XenServer host:
The script asks for the IP configuration (DHCP by default, or a fixed address with netmask, gateway and DNS) and imports the XOA VM into your default storage repository. It writes nothing else on the host, and you can move the VM elsewhere afterwards.
Via a manual XVA download
Download the XOA as an XVA file from xen-orchestra.com, then import it from your host CLI (or from XO Lite):
To set a fixed IP address before the first start:
And to replace the default DNS server:
First console connection
If you deployed with the web form, you already chose the xoa user password. Otherwise, there is no default password, for security reasons: set one from your host, using the XOA VM UUID (found with xe vm-list):
Reboot the VM to apply, then connect with ssh xoa@<XOA IP>.
Once connected, sudo -s gives you a root shell, so you do not have to prefix every administration command:
Network configuration
XOA uses DHCP by default. To switch to a static address, run xoa network static and answer the prompts; xoa network dhcp goes back to DHCP:
Xen Orchestra is then available at https://your-vm-ip.
To configure another interface than the default one, pass its name as an argument (xoa network static enX1, xoa network dhcp enX1). To add more IP addresses on an already configured interface, use the -add flag:
